Prepaid eSIM Plans Explained: How to Buy, Activate, and Save on Travel Data
You can have a prepaid eSIM activated and ready to browse within minutes, without ever touching a physical SIM card. Instead of swapping tiny plastic cards, you simply scan a QR code or tap an app to install a digital profile that links straight to a local network. This gives you instant, flexible data plans that you can top up or replace entirely from your phone, making travel or daily connectivity feel almost effortless. The entire prepaid eSIM setup takes less time than finding a SIM tray ejector tool.
What Exactly Is a Prepaid eSIM and How Is It Different From a Physical SIM?
A prepaid eSIM is a digital SIM profile you buy and install over the internet—no plastic card, no waiting for delivery. Unlike a physical SIM that you must slot into a tray, the eSIM lives inside your phone’s chip, activated by scanning a QR code or tapping an app. With a prepaid eSIM, you pay upfront for a data bundle, then load it onto the same chip your carrier uses for your main number. The difference is practical: you can switch between prepaid plans from different providers in minutes, while a physical SIM requires physically swapping cards, losing the old one in a drawer. For travel, you can buy a local prepaid eSIM before landing—no airport booth hunt.
Your phone becomes the wallet and the plug, making the SIM card an obsolete piece of plastic you never touch.
The physical SIM ties you to a single carrier slot; a prepaid eSIM lets you hold multiple plans, but only one active at a time.
The Simple Breakdown: No Plastic Card, Just a Digital Profile
The Simple Breakdown: No Plastic Card, Just a Digital Profile means a prepaid eSIM eliminates the physical SIM tray entirely. Instead of inserting a chip, you scan a QR code or download a profile that installs directly onto your device’s embedded chip. This digital profile holds your prepaid plan’s credentials—number, data allowance, and carrier settings—so activation is instant. There is no waiting for shipping, no tiny card to lose, and no swapping when traveling. The profile occupies secure storage on your phone, letting you switch between multiple prepaid eSIMs without opening a tray. It’s the same cellular function, but purely software-defined.
No plastic card, just a digital profile also means your prepaid balance and expiration are managed through a settings menu, not a physical dashboard. If you reset your phone, you may need to re-download the profile—unlike a SIM that stays in your hand. For users juggling travel plans, this reduces hardware dependency to a single device.
Q: Does a digital profile break if I change phones?
A: Yes, because the profile is tied to the original device’s embedded chip; you must transfer or re-purchase the prepaid plan to a new phone.

Prepaid vs. Postpaid eSIM: Which One Fits Your Travel Style?
Choosing between prepaid and postpaid eSIM hinges on your travel habits. A prepaid eSIM suits short trips or budget-conscious travelers who want fixed data allowances upfront, avoiding surprise bills. Postpaid eSIM plans, however, align with frequent fliers who prefer a consolidated monthly bill and shared data across devices. Prepaid vs. postpaid eSIM ultimately comes down to control versus convenience. Prepaid eliminates credit checks and contract commitments, while postpaid offers seamless top-ups and network priority. For a two-week vacation, prepaid wins; for a year of constant roaming, postpaid reduces admin hassle. Ask yourself: Do you need zero billing surprises, or do you value flexible, ongoing connectivity?
Q: Which is better for a one-off international trip?
A: Prepaid eSIM is almost always better—you pay exactly for the data you need, activate instantly, and discard it upon return without canceling anything.
Why Your Phone’s eSIM Tray Isn’t a Tray at All
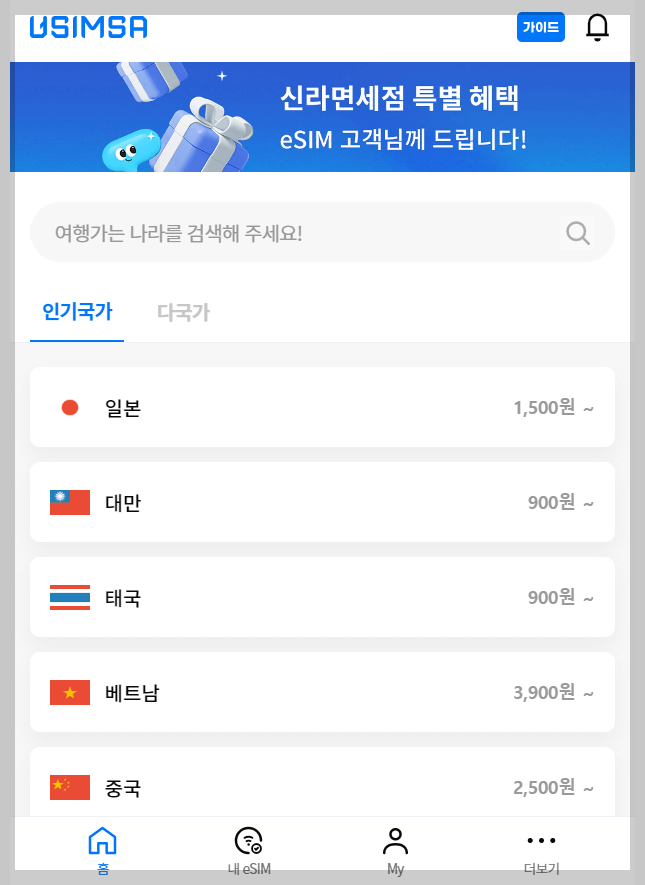
When you buy a prepaid eSIM, you might look for a tray to swap—but there isn’t one. Your phone’s so-called “eSIM tray” is actually just a physical SIM slot that remains empty, because the eSIM is a **soldered embedded chip** inside the device, not a removable card. That tiny slot on the side is only for a physical nano-SIM, and in eSIM-only models, it may not exist at all. Instead, you activate prepaid service by scanning a QR code or entering a manual activation code in your settings, which writes carrier data directly to the embedded secure element.
- No tray removal needed; activation happens entirely via software.
- The physical slot, if present, works only for traditional SIMs, not eSIMs.
- Switching prepaid eSIM profiles requires deleting and re-downloading, not reinserting plastic.
How Do You Set Up and Activate a Prepaid eSIM in Under Five Minutes?
To set up and activate a prepaid eSIM in under five minutes, start by purchasing a plan from a provider’s website or app; you’ll immediately receive a QR code or activation link. Ensure your phone is unlocked and connected to Wi-Fi, then open Settings > Cellular (or Mobile Data) and tap “Add eSIM.” Scan the QR code or paste the manual code, label the line (e.g., Travel), and set it as your primary data line if desired. The prepaid eSIM activates automatically once installed, often within seconds. For instant activation, restart your device to refresh network registration. Avoid deleting the QR code until the prepaid eSIM is fully active, and verify the APN settings if data fails. This entire prepaid eSIM setup process requires no SIM tray or store visit.
Scanning the QR Code: The Fastest Way to Get Online
Scanning the QR code is the quickest activation step for a prepaid eSIM, eliminating manual entry of lengthy activation codes. After purchasing your plan, your provider emails or displays a unique QR code; open your phone’s cellular settings, choose “Add eSIM,” and point the camera at the code. The profile downloads and installs in seconds, often with the data plan pre-configured. Ensure your device is connected to Wi-Fi during this scan, as the download requires an internet connection. Once installed, toggle the new line on, and you are online immediately. This method reduces errors and is the fastest QR code eSIM activation for travelers needing instant connectivity.
Manual Entry Option: When Scanning Just Doesn’t Work
If the QR code from your prepaid eSIM provider is damaged, blurry, or fails to trigger the activation screen, eSIM South Africa the manual entry option is your reliable fallback. On your phone’s eSIM setup menu, choose “Enter Details Manually” instead of “Scan QR Code.” You will need the SM-DP+ address, an activation code, and sometimes a confirmation number—all found in the confirmation email from your carrier. Type these exactly, including uppercase letters and slashes, because one typo prevents activation. Double-check the activation code’s trailing characters, as they often get truncated in forwarded emails. After submitting, the profile installs within seconds and becomes active once you select it under Cellular Plans.
- Locate the manual entry fields under Settings → Cellular → Add eSIM, not in the camera app.
- Copy the SM-DP+ string directly from the provider’s PDF receipt to avoid case-sensitive errors.
- If the profile fails, re-enter the activation code without spaces—some providers include hidden line breaks.
What Happens to Your Primary Number While the eSIM Is Active?
When your prepaid eSIM is active, your primary number remains linked to your physical SIM, but it typically goes offline for cellular calls and texts unless your device supports Dual SIM Dual Standby. In that mode, both lines stay live simultaneously, allowing calls and SMS to your primary number to arrive normally. However, data routing is usually assigned to the eSIM, so your primary line’s data is paused. Your primary number’s voicemail and iMessage/FaceTime registration continue working over Wi-Fi or the eSIM’s data connection, depending on your settings. You can also disable the eSIM temporarily to fully restore your primary line’s cellular functionality without removing either SIM.
- Incoming calls to your primary number may go straight to voicemail if your device lacks dual standby capability.
- Your primary line’s SMS messages are delivered only when that line has active cellular service or Wi-Fi calling enabled.
- You can manually switch data back to your primary number at any time without deactivating the eSIM.
- Emergency calls (e.g., 911) will automatically use any available network, including the eSIM, even if your primary line is offline.
What Should You Look for When Choosing a Prepaid eSIM Plan?
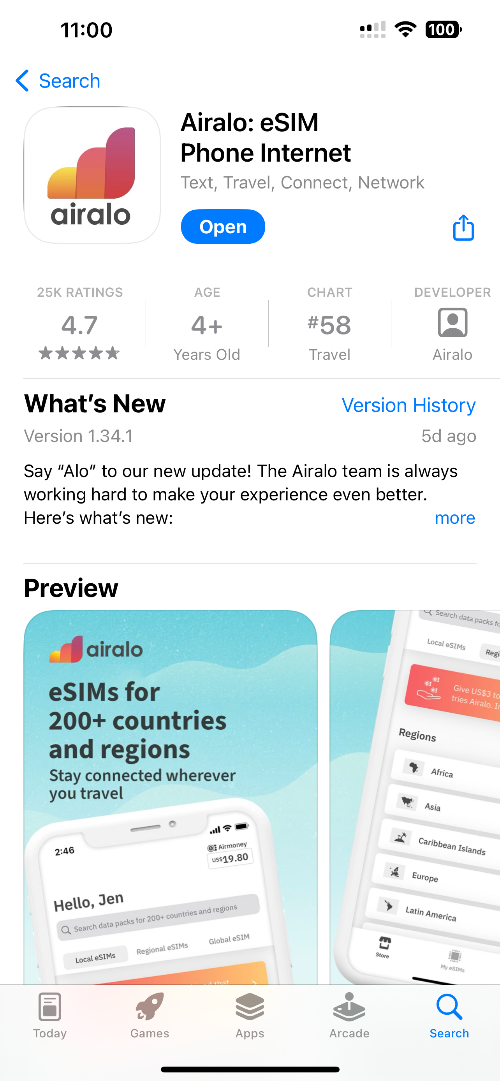
When choosing a prepaid eSIM plan, prioritize coverage maps to ensure the network reaches your exact destinations, especially if traveling off-grid. Scrutinize the data allowance versus your actual usage—streaming and navigation drain gigabytes quickly. Look for flexible validity periods; a 30-day plan is useless if you need 90, so match the duration precisely to your trip. Verify the tethering policy is included, as some prepaid eSIMs restrict hotspot sharing. Crucially, check the activation method: choose a plan with instant QR code delivery and require clear, upfront reset or top-up options if your plans change. Finally, confirm local versus regional pricing—a regional prepaid eSIM often beats single-country rates but only if you stay within the covered zones. Avoid plans with hidden speed throttles and always read the fair usage policy before committing.
Data Allowance vs. Validity Period: Matching the Plan to Your Trip Length
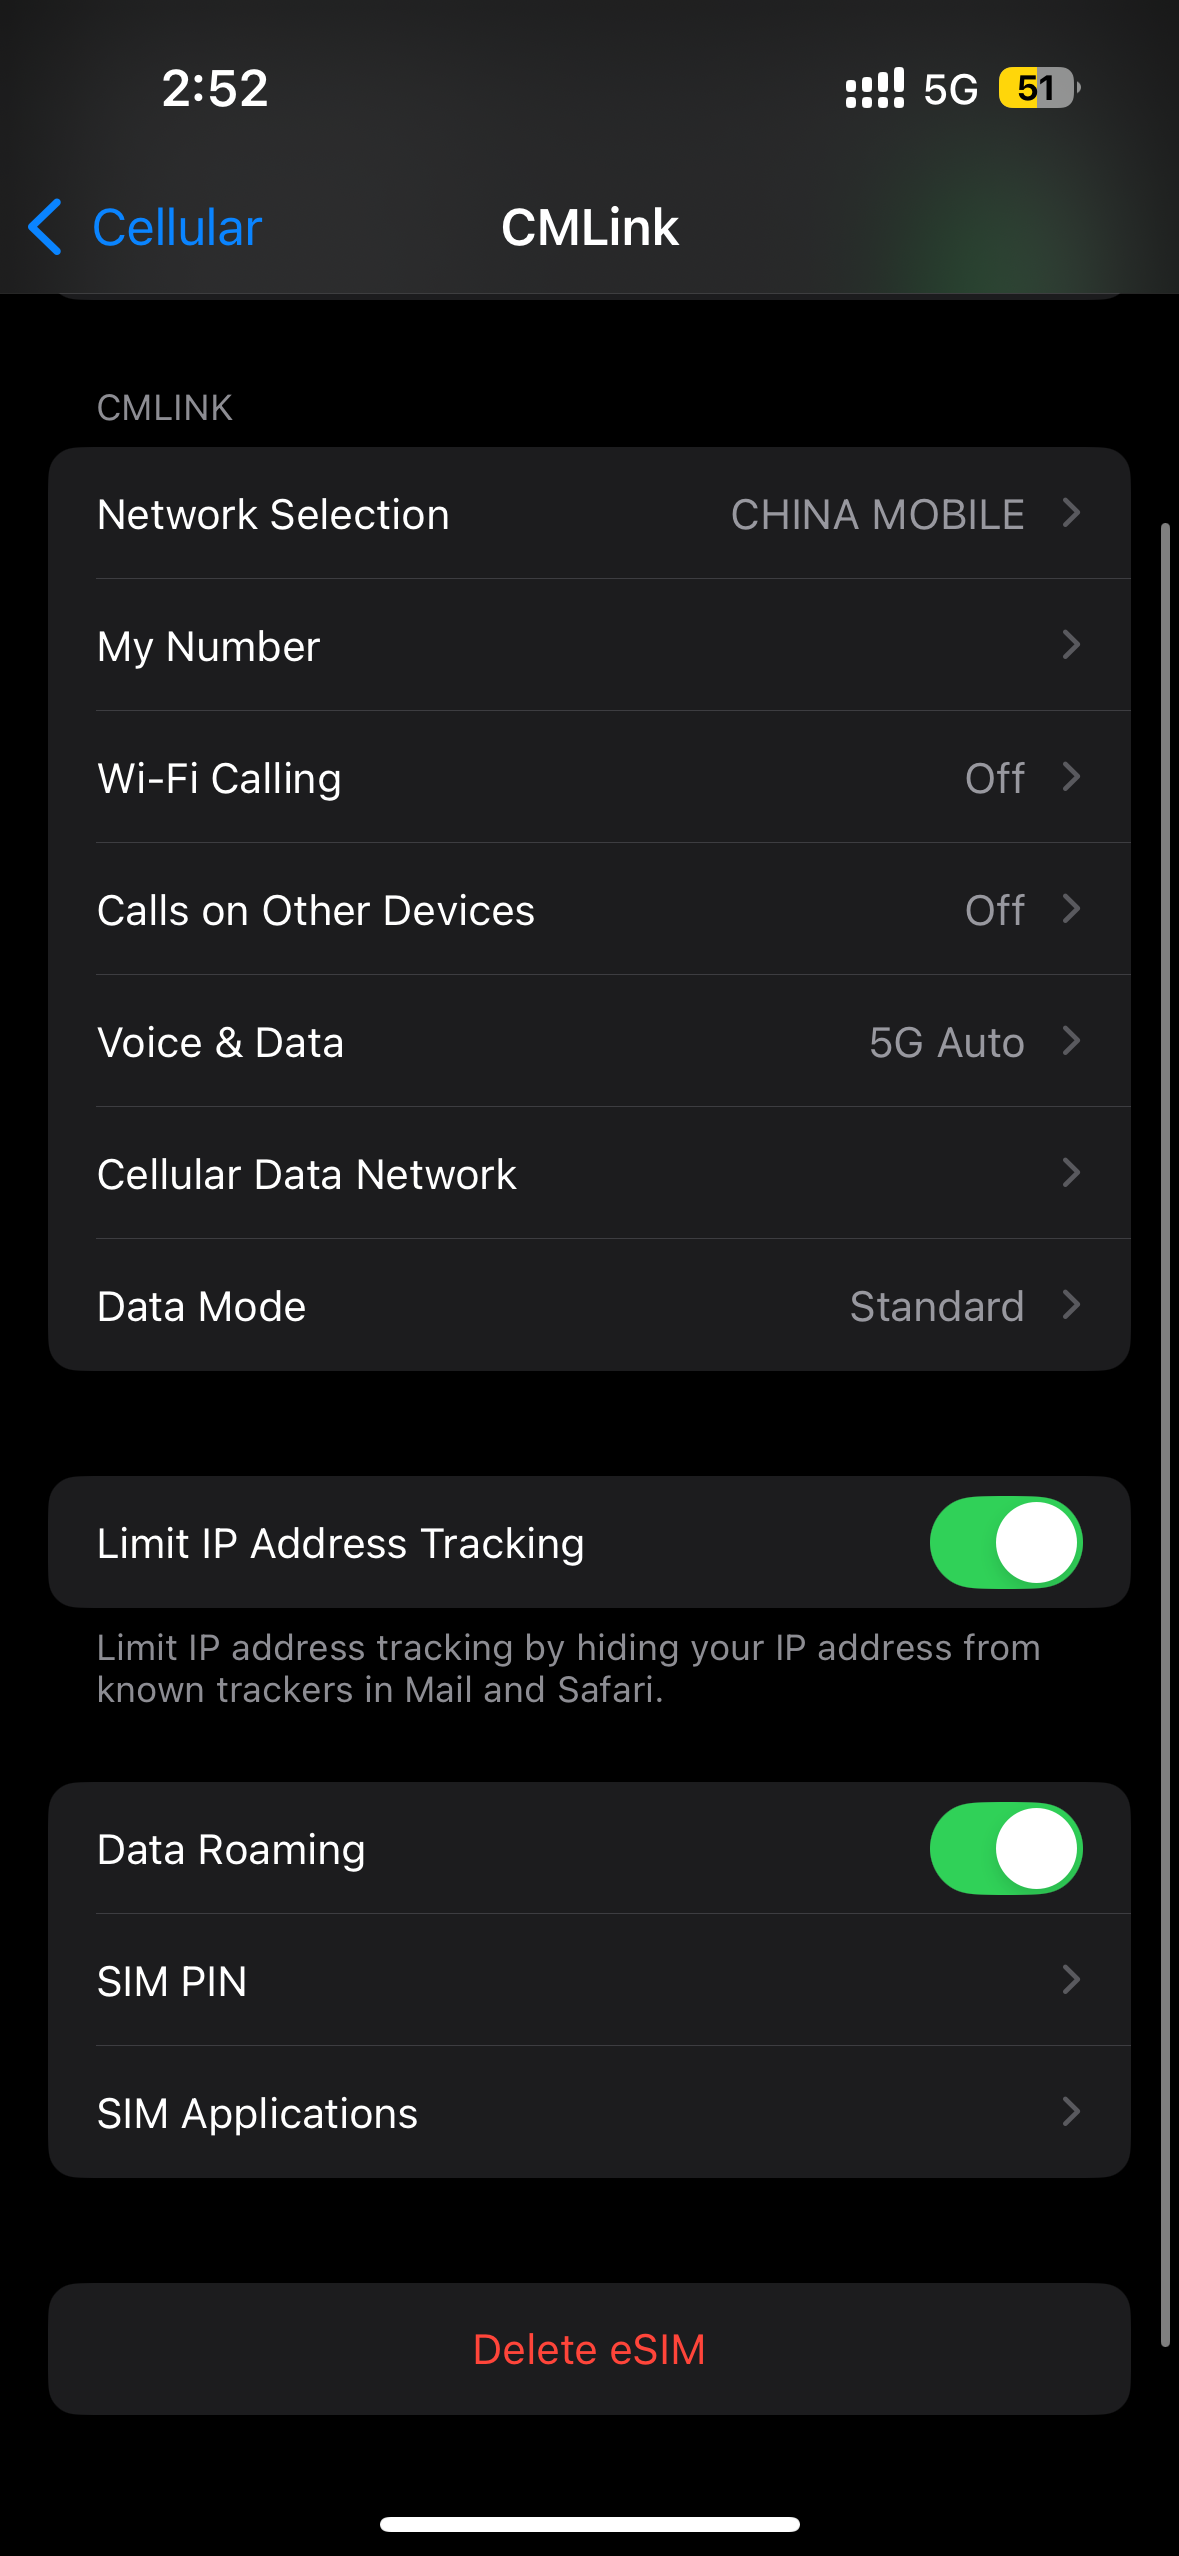
Choosing between a bulky data package and a short validity window is a classic travel trap. For a prepaid eSIM plan matching trip length, your priority is avoiding data expiry before you depart. A 10-day trip demands a 10 or 15-day validity plan, even if you only need 5GB. Conversely, a month-long journey requires a 30-day validity, even if your usage is light. Never buy a 7-day plan for a two-week stay, as you will be forced to top up, which often costs more than a longer plan from the start.
- Prioritize validity covering your entire stay, not just your active scrolling days.
- Overshoot data by 1-2GB only if you find a plan with matching validity; otherwise, save money.
- Check if the plan offers “rollover” data within its validity, which is rare but useful.
- For split trips, consider two shorter plans instead of one long one with wasted data.
Coverage Maps: Why “Regional” Plans Might Be a Better Bargain
When evaluating coverage maps, a regional prepaid eSIM often delivers more practical value than a single-country plan. Instead of scrutinizing pixel-level detail, focus on the carrier’s actual network partners—a regional plan typically bundles multiple countries where the same tower infrastructure is shared, reducing dead zones near borders. Compare the map’s roaming zones against your specific itinerary; a “Europe” or “Asia” map may include high-cost transit hubs like airports and train stations that a country-specific map omits. For sequential travel, a regional map ensures seamless handoffs without re-purchasing. Check the fine print for fair-use data speed caps that alter map performance, not just coverage shape. Prioritize maps showing 4G/5G density, not just 3G fallback, as regional bargains often mask slower legacy towers.
Top-Up and Refill Options: Can You Add More Data Without Buying a New eSIM?
Most prepaid eSIM providers allow you to top up your existing plan, so you rarely need a new QR code. Check if the provider offers a self-service portal or app where you can purchase additional data bundles directly against your current eSIM profile. Some plans support automatic refills when your balance dips below a set threshold, while others require manual renewal before the data expires. Adding data without a new eSIM typically works for same-network add-ons, but verify if the top-up resets your validity period or just adds a separate data allowance. Always confirm your provider’s specific refill terms before purchase to avoid compatibility issues.
How to Get the Most Value Out of Your Prepaid eSIM While Traveling
To maximize your prepaid eSIM, install it before departure and activate only upon landing to preserve the validity window. Use Wi-Fi for heavy downloads like maps or Netflix, and reserve cellular data for navigation, messaging, and essential searches. Disable background app refresh and auto-play for social media, as these silently drain your balance. Monitor usage daily through your carrier’s app or phone settings, and switch to a low-data mode if you’re nearing your cap. For multi-country trips, buy a regional prepaid eSIM rather than separate local ones—it’s often cheaper and avoids reconfiguration mid-trip. Q: What’s the fastest way to save data? A: Pre-download offline maps and set your email to fetch manually instead of push.
Keeping Your Home SIM Active for Calls Without Roaming Charges
Keep your home SIM physically inside your phone while traveling, but disable its data and roaming in settings. This preserves your number for SMS verification codes and bank alerts without incurring per-megabyte fees. Route all internet traffic through the prepaid eSIM for data, and use Wi-Fi calling for voice when connected to a hotspot. To avoid accidental charges, set your phone to “home SIM: calls only” and rely on the eSIM’s data for apps. For urgent calls, forward your home number to a VoIP service or use the eSIM’s callback feature. This setup gives you a reliable lifeline for roam-free home SIM calls while keeping your travel data costs near zero.
Using Dual SIM Features: Manage Work and Personal Numbers Seamlessly
Dual SIM functionality transforms a prepaid eSIM into a productivity tool by separating work and personal lines on one device. Keep your physical SIM active for your home number while the prepaid eSIM handles travel data, eliminating roaming fees on business calls. Direct work calls to the eSIM’s number and personal chats to your primary line, ensuring clear boundaries without carrying two phones. This setup lets you monitor work emails via the eSIM’s data plan while your personal line stays offline for non-urgent notifications. Seamless number management also simplifies expense tracking, as you can assign distinct data allowances per line. Ultimately, you control which apps use which network, avoiding accidental overages and maintaining professional availability abroad.
- Assign work messaging apps exclusively to the prepaid eSIM’s data profile.
- Set your personal SIM as default for voice calls to save eSIM data.
- Disable background syncing on the eSIM line when not needed.
- Use call forwarding rules to route after-hours work calls to voicemail.
Battery Drain and Signal Tips: What to Do When Your Connection Drops
When your prepaid eSIM connection drops, network scanning constantly searches for a signal, which rapidly drains battery life. First, toggle airplane mode for ten seconds to force a re-registration without restarting your device. If the issue persists, manually select a local network in your carrier settings instead of relying on “automatic,” which repeatedly probes frequencies. Also, disable roaming for non-essential apps—background data checks consume power while hunting for a stable band. For persistent dead zones, switch your device to **2G or 3G-only mode**; lower-band signals penetrate buildings better and require less transmitter energy. Finally, keep a portable charger handy, as signal-seeking alone can consume 20–30% of your battery hourly.
- Turn off 5G and prefer LTE to reduce power draw during weak signal searches.
- Restart your eSIM profile only after trying airplane mode, as full reboots waste battery.
- Download offline maps and cached content to avoid data retries when signal drops.
- Set your phone to “Wi-Fi calling” if your eSIM supports it, to offload voice onto nearby networks.
What Are the Common Pitfalls and How Do You Troubleshoot Them?
The most common pitfall with prepaid eSIMs is activation failure, often caused by installing the profile without a stable Wi-Fi or cellular connection. Troubleshoot by redownloading the QR code or manual entry details from your provider’s app, then toggling airplane mode for 30 seconds. Data not working after switching usually stems from the old physical SIM still being active or the eSIM line not being set as the default for cellular data; go into your network settings and select the eSIM line, then ensure roaming is enabled for the eSIM only. If you see “No Service,” verify the eSIM is assigned to the correct IMEI (often the second slot). Finally, avoid deleting the eSIM before the plan expires, as reinstallation may require a new QR code.
Activation Failures: Why the Profile Isn’t Installing and How to Fix It
Activation failures typically stem from a mismatched device, a stale QR code, or an interrupted download. First, confirm your phone is carrier-unlocked and eSIM-compatible—a locked device rejects any foreign profile. Then, re-scan the QR code using a fresh, stable Wi-Fi connection, as a dropped network mid-download corrupts the profile. If the error persists, manually delete the partially installed eSIM from your settings, restart the phone, and retry the installation via the carrier’s app rather than the camera scanner. For a logical sequence: check compatibility, verify network stability, purge the incomplete profile, then reinstall. Finally, contact the provider to regenerate a new QR code if the original has already been consumed.
Accidentally Deleting the eSIM: How to Restore or Reinstall It
Accidentally deleting your prepaid eSIM doesn’t mean losing your plan, provided you saved the original QR code or activation details. First, open your device’s cellular settings and choose “Add eSIM,” then scan the same QR code from your provider’s email or app; this reinstalls the prepaid eSIM profile instantly. If the QR code is lost, log into your carrier’s account portal to regenerate it or request a new activation link—most prepaid providers allow unlimited re-downloads of the same profile at no cost. Avoid using a backup restoration from a different phone, as that may overwrite the current eSIM. After reinstalling, restart your device and test data connectivity before traveling.
Accidentally deleting a prepaid eSIM is reversible by rescanning the saved QR code or regenerating it via the carrier’s app, then restarting the device to reactivate service.
Device Compatibility: Checking if Your Phone Unlocks the eSIM Feature
Before buying a prepaid eSIM, your first move is verifying your phone isn’t carrier-locked, since a locked device often blocks eSIM activation entirely. Even unlocked models can lack the necessary hardware, so check your IMEI in settings or dial `*#06#`—if no EID number appears, your device won’t support eSIM profiles. Manufacturer region plays a role too: a US iPhone may differ from its global counterpart. Confirming eSIM compatibility before travel prevents wasted purchases. Use your provider’s compatibility checker or the official Apple/Google support pages. For dual-SIM setups, ensure both slots are active; some prepaid eSIMs fail if the physical SIM occupies the sole eSIM-capable tray.